Start of project
Lining a ceiling painting after an old wax resin lining has been removed .


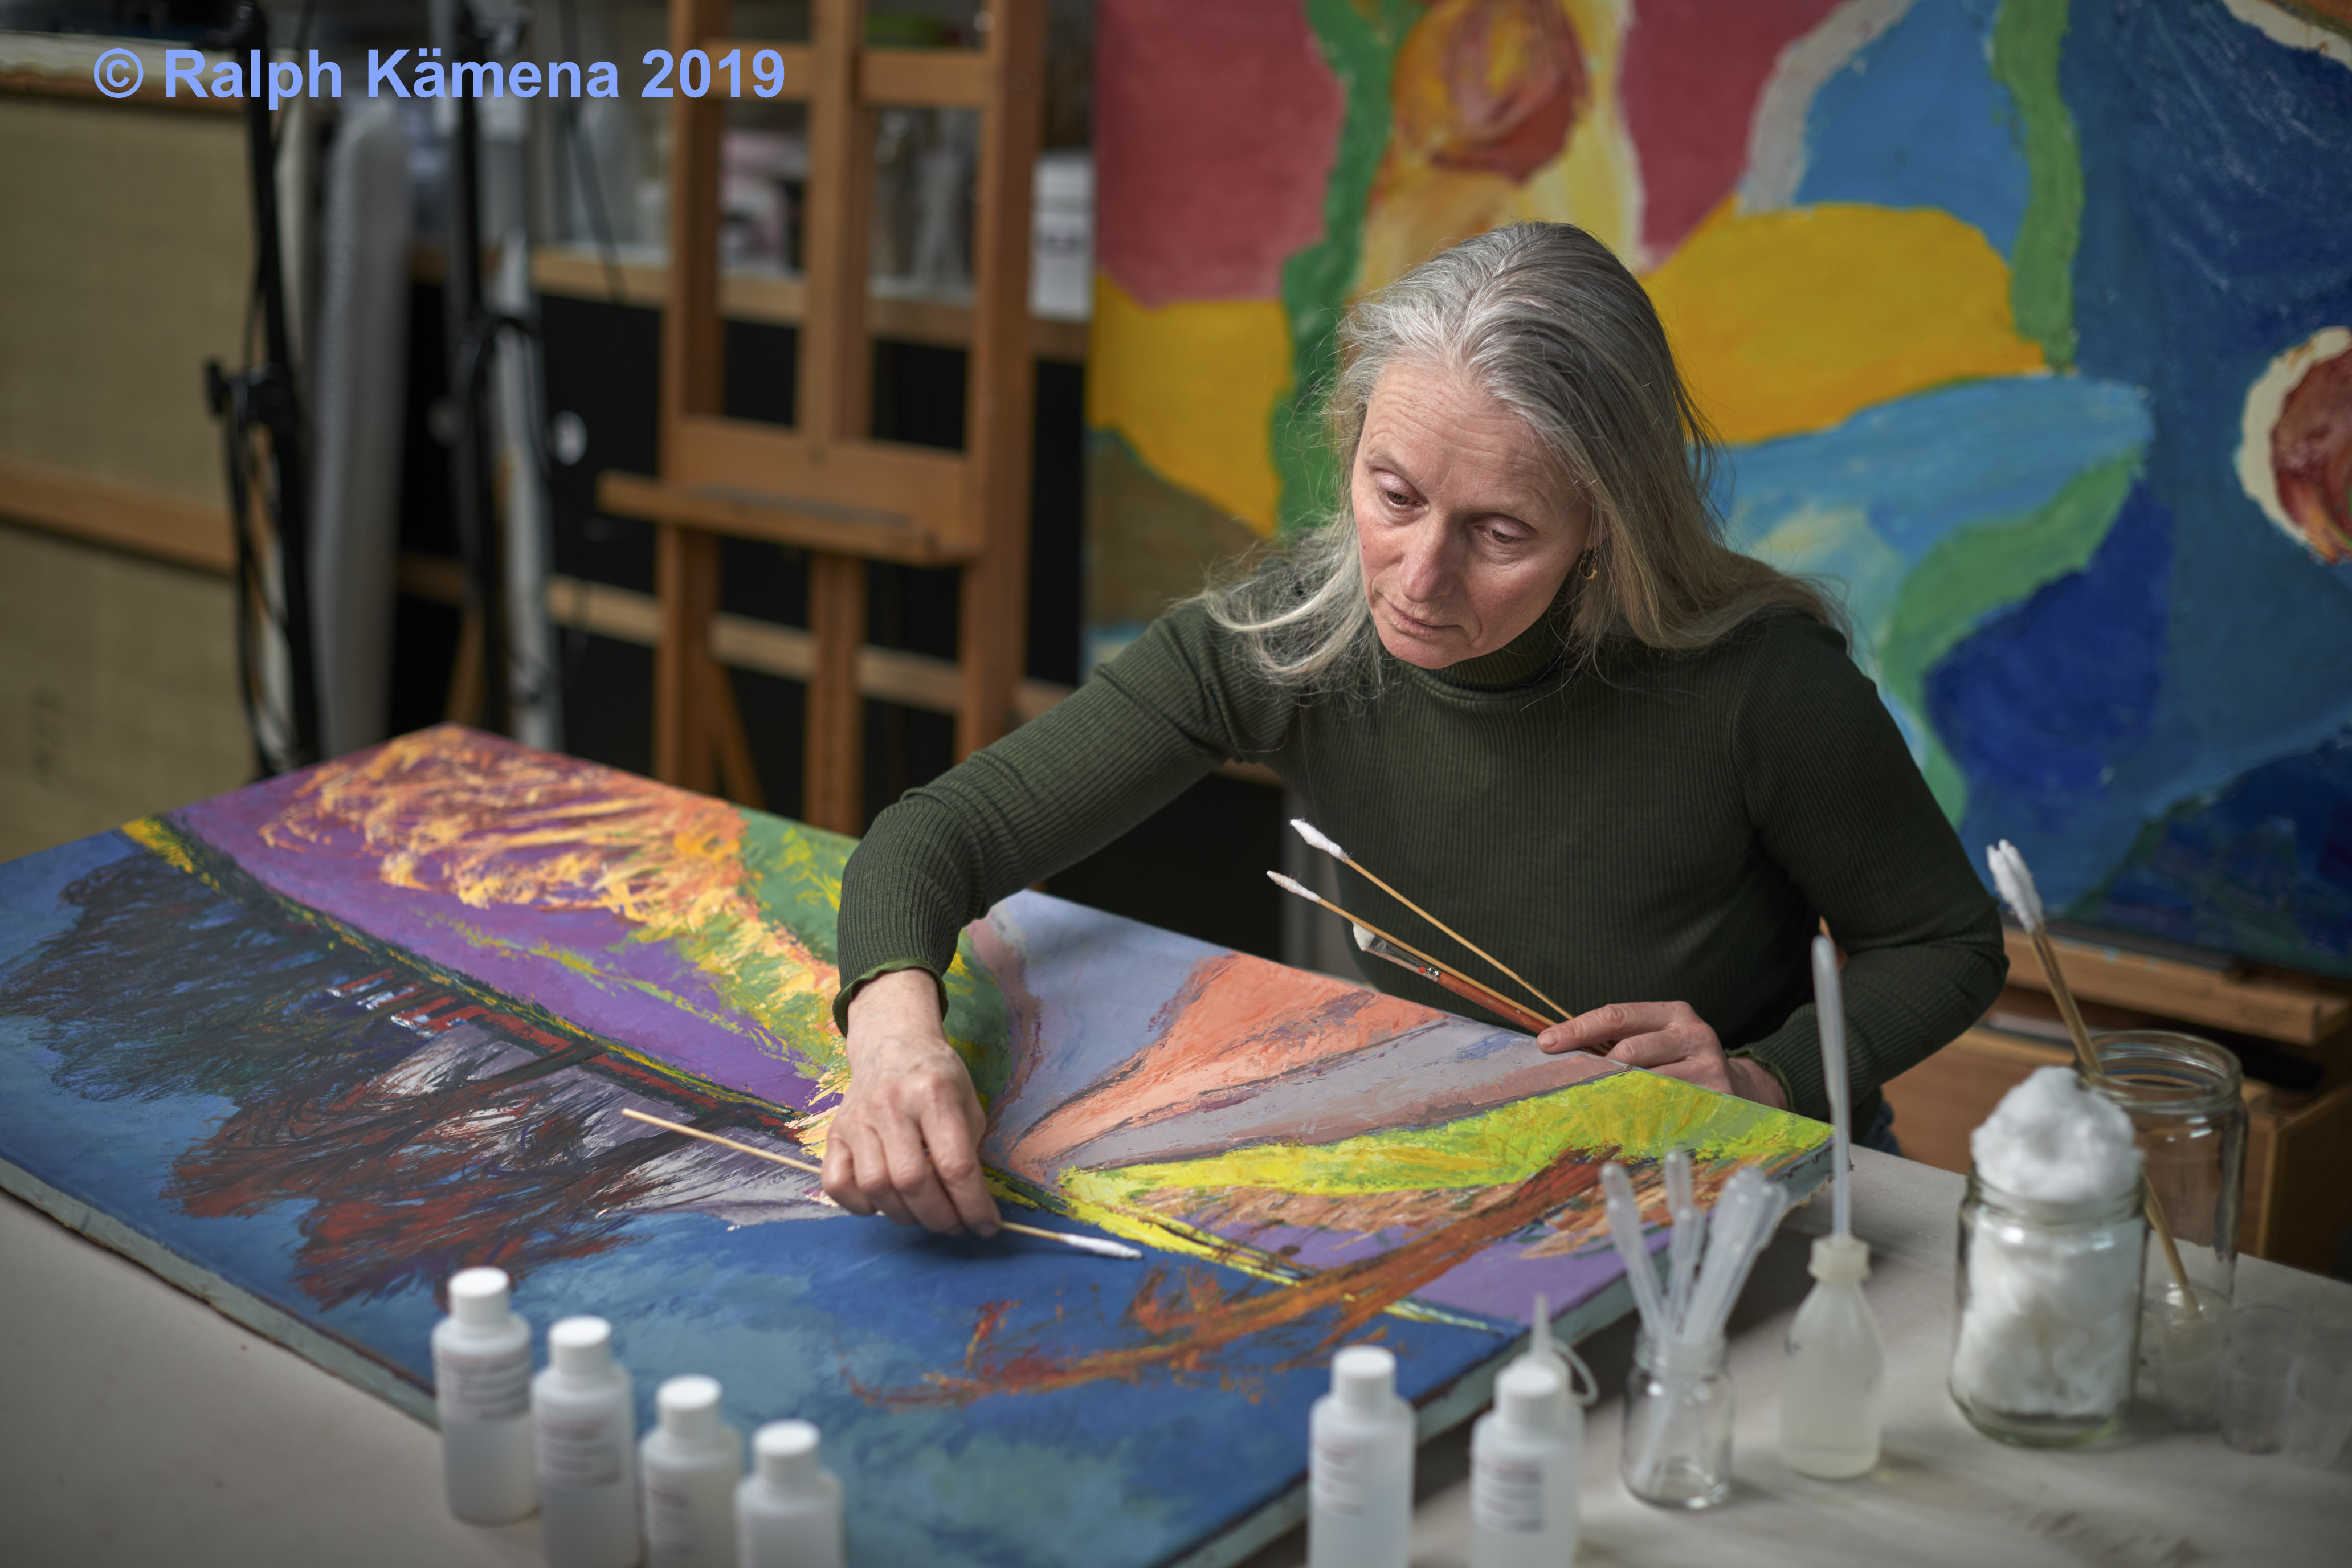
The owner who bought a beautiful mansion from 1860 in The Hague , felt directly responsible for preserving this ceiling piece in the garden room. The piece has had a rough life. A missing stretcher frame, cut clamping strips, many tears, and wax and resin covering it are no longer sufficient, pollution and discolored overpainting are the start of a great project.
Colleagues from home and abroad, interns, and the owner have put their shoulders to the wheel together.
The desire to match the badly damaged painting with a modern sitting room and upholstery that looks perfect. How are we going to tackle this?… step by step and with full confidence that we will succeed.
Lining
After the painting was finally clean and provided with the additional striplining, the new lining could be carried out. It was decided to use a synthetic adhesive based on solvents. It concerns Plexisol 550-40 (Labshop and Kremer Pigmente), dilutable in petroleum ether 100-140 (benzene). For the lining, the Plexisol is diluted 1:1 by volume with the petroleum ether. A layer of Plexisol has been applied to both the double fabric and the back of the original fabric with a roller. The most important part of lining-a-ceiling-painting.


Test lining method
The lining technique has of course been tested in advance for execution and results. The required temperature and duration of treatment was investigated. The treated test piece is always tested for shear shear strength and peel strength. At 20 minutes of treatment below 50 degrees Celsius, the shear force is high and the peeling force is still easy. This turned out to be an excellent result for lining the ceiling painting.
Lining a ceiling painting
The lining cloth is placed over the painting, with the glue layer downwards, which is stretched face-down on the smooth plate. The cloths interlock well and are non-slip, so that the lining cloth remains in place. With a heating plate of 60 x 80 cm, both parts are fused together at 50 degrees Celsius. The heating plate was always placed for 20 minutes and then moved forward with a small overlap. The entire painting was covered in one go by two restorers. This treatment lasted fourteen hours. This was my loges lining-a-ceiling-painting ever!

Temperature control
The temperature of the heating plate was checked with a heat meter during the lining; infrared camera on an iPhone.

day light 
infra red

Stretching
The aluminum frame was placed on the back of the canvas and moved until the correct position was found. Since the original cloth is not perpendicular, the long sides are placed parallel to the frame and therefore the short sides are not completely parallel to the frame. Yet the entire painting falls within the framework.

Follow the next treatment steps after lining-a-ceiling-painting


