IIntroduction
Retouching the ceiling painting is the last part of this project described in four blogs.
The owner who bought a beautiful mansion from 1860 in The Hague, felt directly responsible for preserving this ceiling piece in the garden room. The work had had a rough life. A missing stretcher frame, cut clamping strips, many tears, and wax and resin covering that are no longer sufficient. Pollution and discolored overpainting are the start of a great project.
The start of the restoration project
Colleagues from the Netherlads and abroad, interns and the owner have put their shoulders to the wheel together.
The desire to match the badly damaged painting with a modern sitting room and upholstery that looks perfect. How are we going to tackle this?… step by step and with full confidence that we will succeed.

Insulation varnish
In the previous post you can read how the previous steps were taken. All layers of dirt and the aged varnish and overpaint have been removed. The inserts were placed, the canvas doubled and stretched. Only then was the painting ready for the first layer of varnish. This layer of varnish isolates the original paint layer from all subsequent additions. For this purpose, two varnishes were tested in two concentrations. These varnishes are made by ourselves and applied with a brush. Then we started retouching the ceiling painting.
Filling the gaps in the canvas
After this isolating varnish, all the gaps and cracks in the paint layer and the small gaps in the canvas were filled with a filler based on cellulose fibres. This filler is applied with a small spatula.
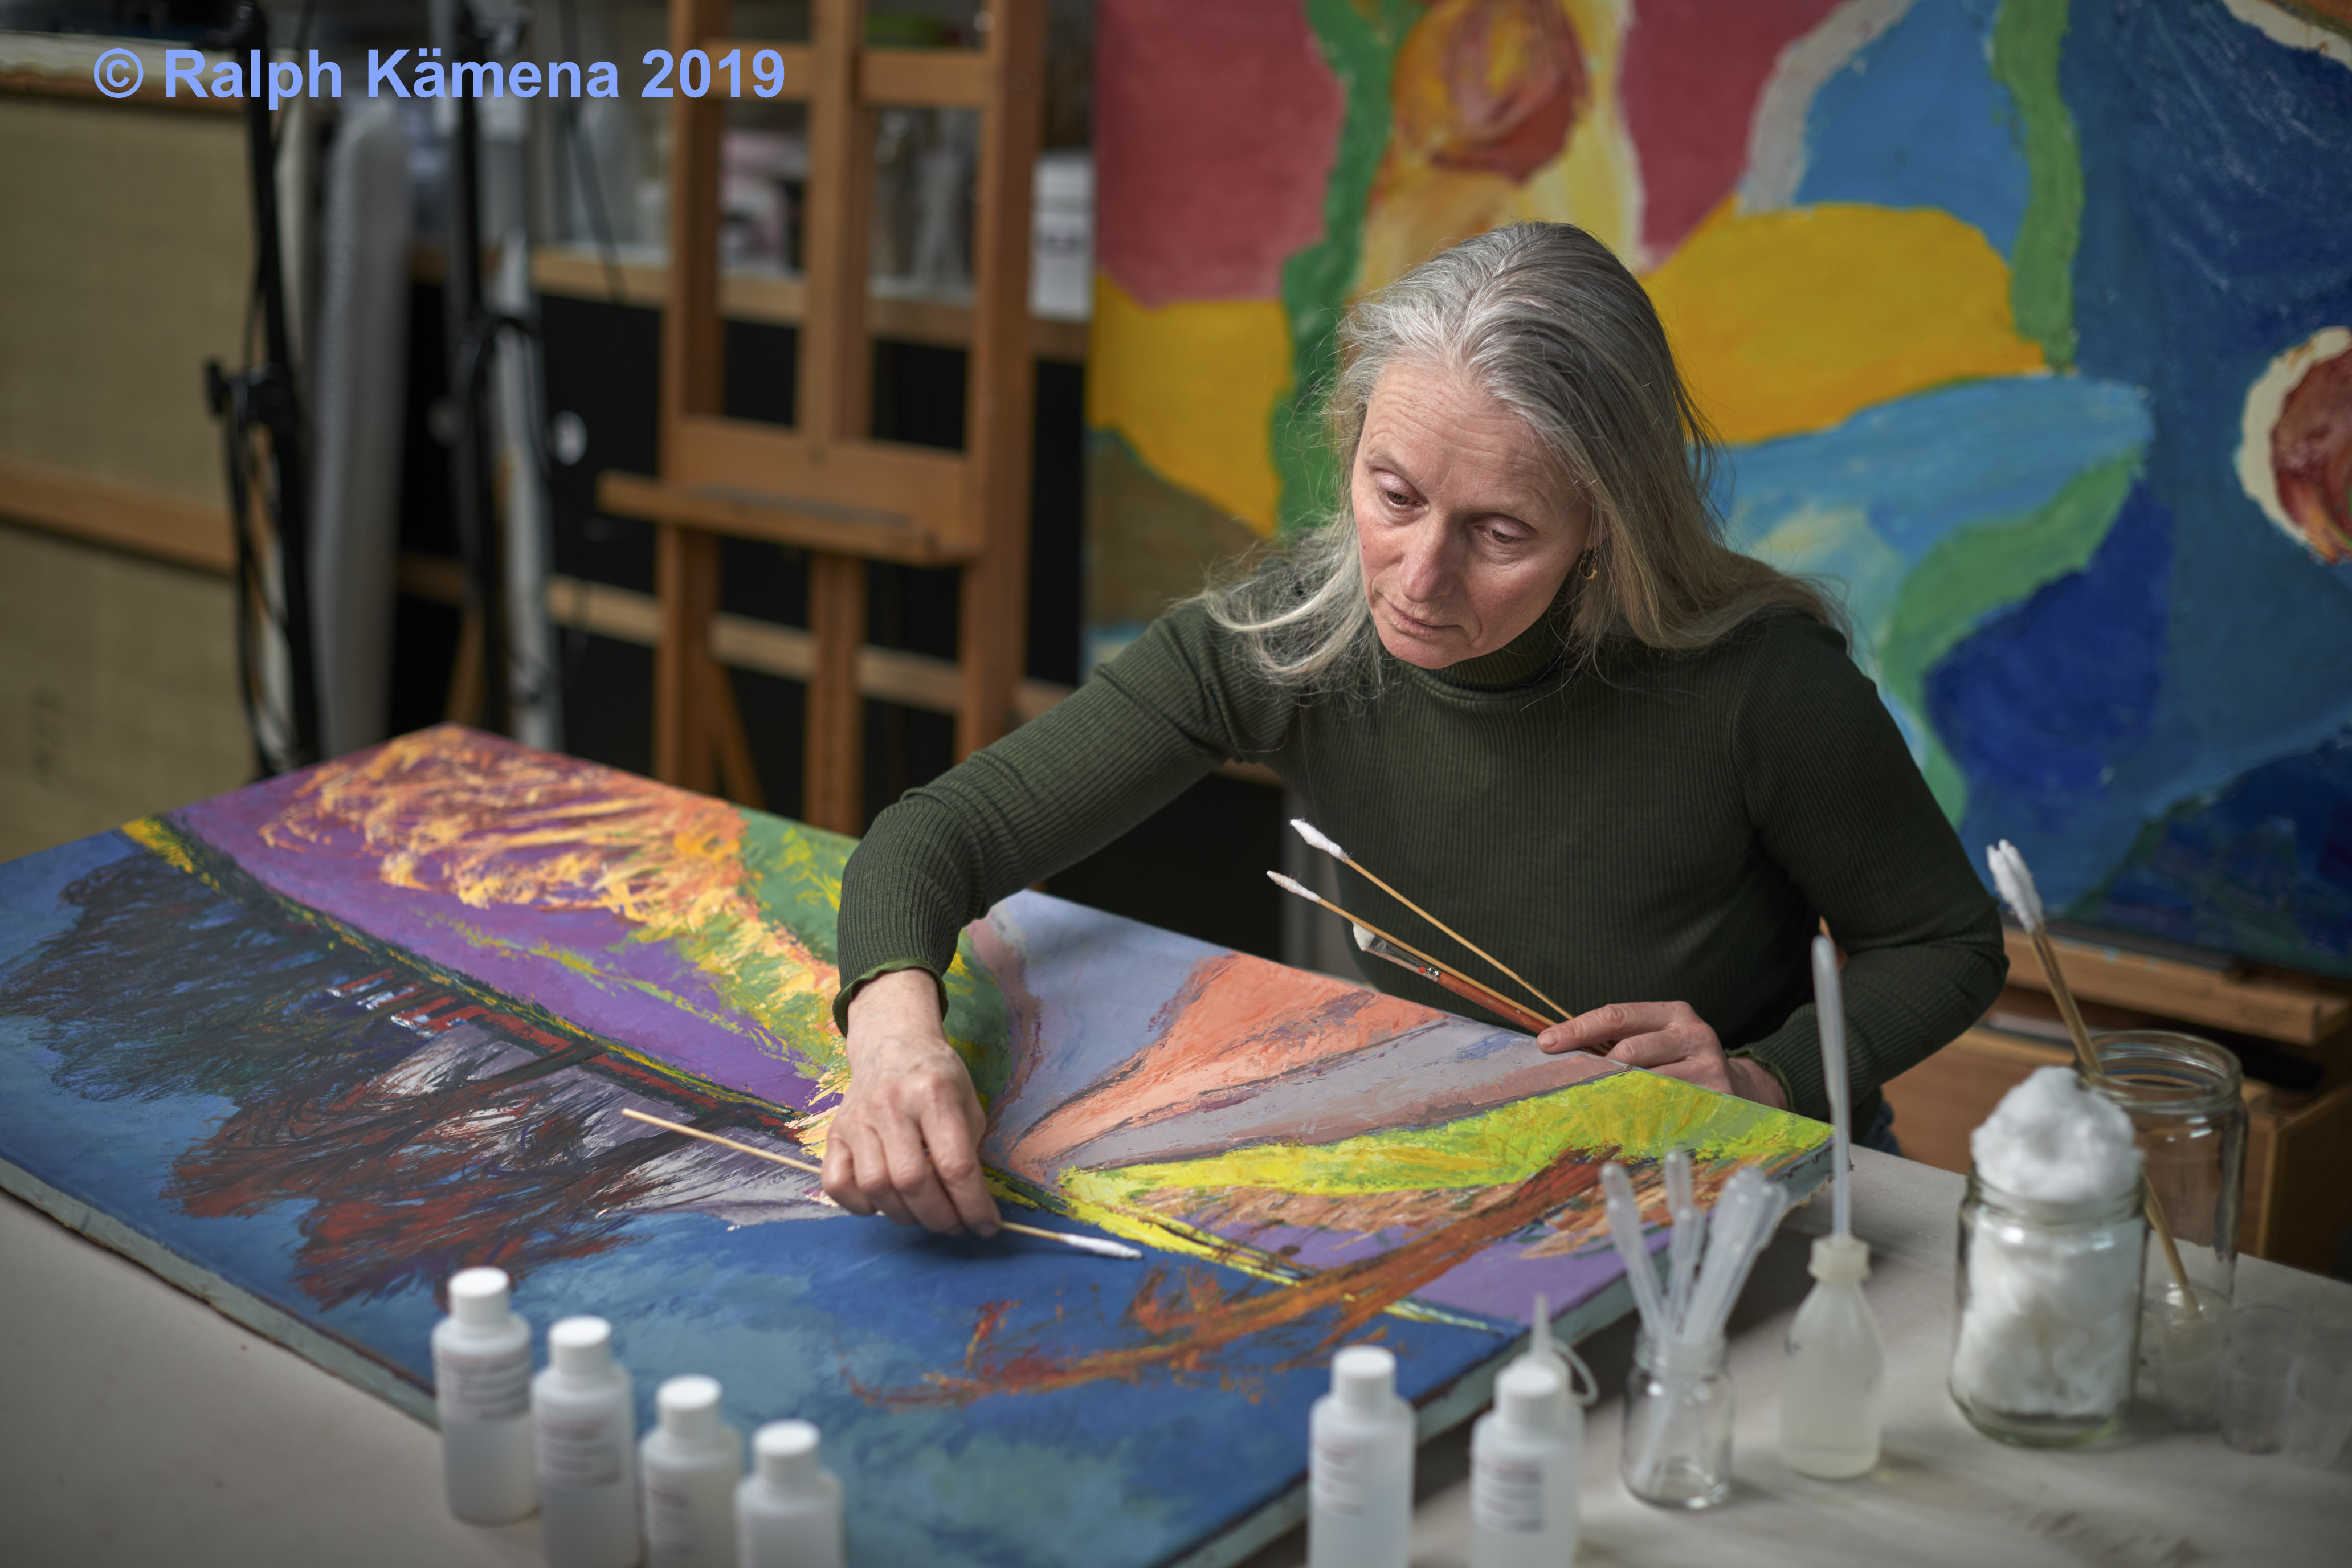
Retouching the fillings and inserts.
Two different systems were used to retouch the ceiling painting.
The first layer consists of a gouache paint by Lascaux. This paint has good covering power. This paint has mainly been retouched on tone in even surfaces. All white spots are covered with this. For the second layer, a more transparent paint layer has been used, also on this water-based system. The tone has been refined more with dots and stripes and more integrated into the existing paint layer.


Final varnish
After all these activities had been carried out, the painting was ready for a final varnish. Now it has an even shine. Up close it is easy to see that the painting has been treated, but from a viewing distance it is impossible to see how many hours of work we have put in to achieve this result. But with UV light, all our fillings and retouches come to light! The final step in this project has been taken with the retouching of the ceiling painting.


